Hair Styling perth

  • “Dive into the Trend: Mastering the Wet Look Hair Style”

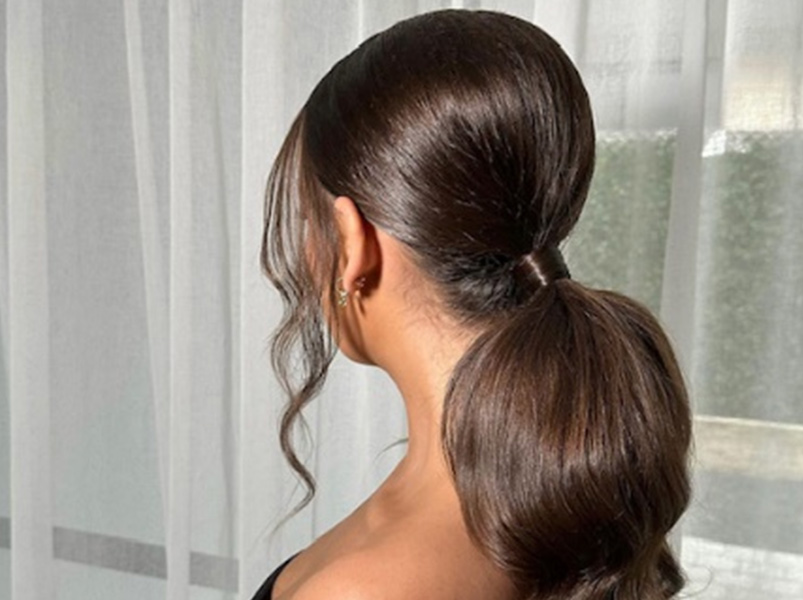
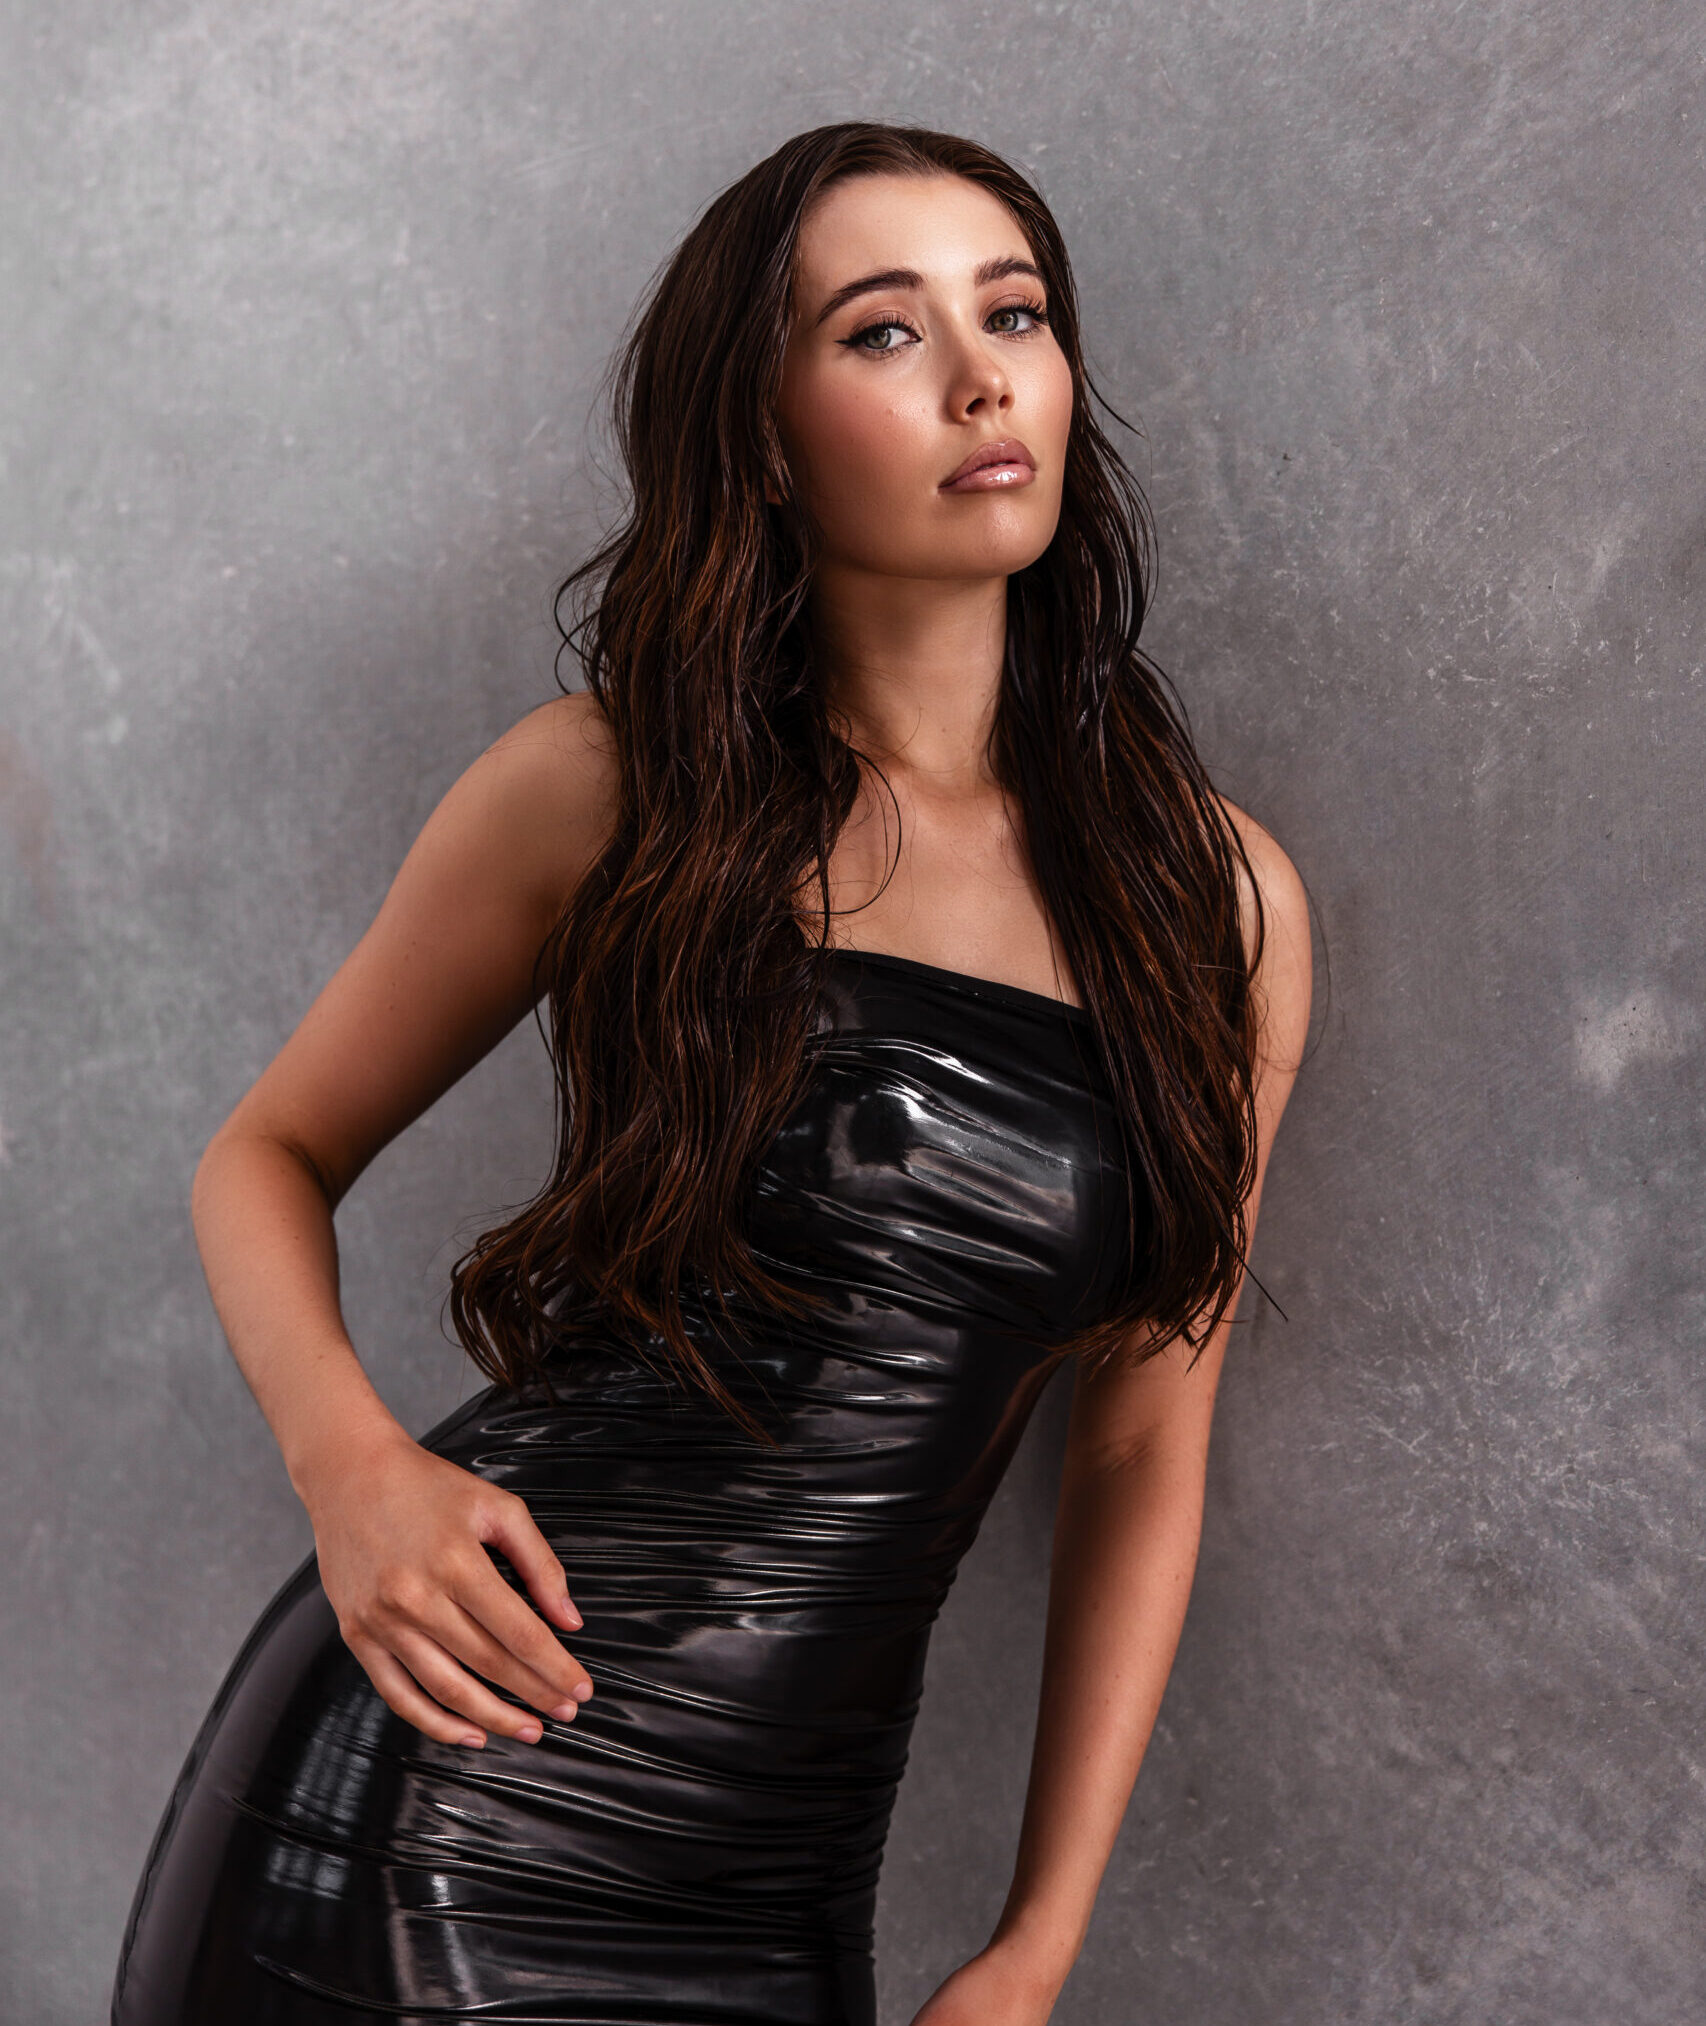
    The wet look effortlessly blends sophistication with a touch of nonchalant coolness. It’s a style that can take you from a casual day out to a glamorous evening event, making it incredibly versatile.

    Achieving the wet look with hair extensions can add a trendy and sleek dimension to your hairstyle. Here’s a step-by-step guide to help you achieve the wet look with hair extensions:

    1. Prepare the Hair Extensions:

    • If your extensions are not already applied, clip or secure them into your natural hair following the recommended method (tape-ins, clip-ins, sew-ins, etc.).

    2. Dampen the Hair:

    • Use a spray bottle to lightly dampen the hair extensions. This step helps the styling product distribute more evenly.

    3. Apply Styling Product:

    • Take a small amount of the wet-look gel or wax and apply it evenly through the hair. Start at the roots and work your way down to the tips.
    • Ensure that the product is distributed evenly, so the wet look is consistent throughout.

    4. Comb Through:

    • Use a comb or brush to evenly distribute the styling product and detangle the hair. This step helps to achieve a sleek appearance.

    5. Define Sections:

    • If you have multiple wefts of extensions, consider defining sections for a more controlled application of the wet-look product.

    6. Sculpt the Style:

    • With the styling product in place, use your hands to sculpt and shape the hair into your desired style. Smooth the hair down for a sleek appearance.

    7. Extra Gloss (Optional):

    • For an added glossy effect, you can use a separate shine spray or serum. Apply it sparingly for a polished finish.

    8. Let it Set:

    • Allow the styling product to set for a few minutes to achieve the desired wet look. Avoid excessive touching to maintain the style.

    9. Final Touches:

    • Make any final adjustments and ensure that the wet look is consistent throughout the hair extensions.

    By following these steps, you can achieve a sleek and trendy wet look with your hair extensions, adding a touch of glamour to your hairstyle.

  • Step by Step Guide to achieve the WET look with Hair Extensions!
    Step-by-Step Guide:
    1. Prepare the Hair Extensions:
    If your extensions are not already applied, clip or secure them into your natural hair following the recommended method (tape-ins, clip-ins, sew-ins, etc.).
    2. Dampen the Hair:
    Use a spray bottle to lightly dampen the hair extensions. This step helps the styling product distribute more evenly.
    3. Apply Styling Product:
    Take a small amount of the wet-look gel or wax and apply it evenly through the hair. Start at the roots and work your way down to the tips.
    Ensure that the product is distributed evenly, so the wet look is consistent throughout.
    4. Comb Through:
    Use a comb or brush to evenly distribute the styling product and detangle the hair. This step helps to achieve a sleek appearance.
    5. Define Sections:
    If you have multiple wefts of extensions, consider defining sections for a more controlled application of the wet-look product.
    6. Sculpt the Style:
    With the styling product in place, use your hands to sculpt and shape the hair into your desired style. Smooth the hair down for a sleek appearance.
    7. Extra Gloss (Optional):
    For an added glossy effect, you can use a separate shine spray or serum. Apply it sparingly for a polished finish.
    8. Let it Set:
    Allow the styling product to set for a few minutes to achieve the desired wet look. Avoid excessive touching to maintain the style.
    9. Final Touches:
    Make any final adjustments and ensure that the wet look is consistent throughout the hair extensions.
    Tips:
    Less is More: Start with a small amount of product and gradually add more if needed. Too much product can weigh down the hair.
    Choose the Right Product: Opt for a styling gel or wax specifically designed for a wet look with a strong hold.
    Maintenance: Be aware that the wet look may not last all day, especially in humid conditions. Keep a small amount of styling product on hand for touch-ups.
    By following these steps, you can achieve a sleek and trendy wet look with your hair extensions, adding a touch of glamour to your hairstyle.
  • Effortless Elegance: Mastering the Perfect Low Pony with Hair Extensions

    The low ponytail is a style that effortlessly combines simplicity with sophistication. Whether you’re heading to the office, a casual brunch, or a glamorous evening event, the low pony adapts to any setting. It’s a go-to choice for its ease of styling and ability to complement a range of outfits and occasions.

    Follow these steps for a flawless low ponytail with extensions:

    • Start with Clean, Dry Hair: Begin with clean and dry hair for a smooth foundation.
    • Extension Application: Clip in or secure your hair extensions according to your desired length and volume. Ensure they are evenly distributed for a natural look.
    • Gather Hair Securely: Comb your natural hair and the extensions backward, gathering them at the nape of your neck. Use a hair tie to secure the ponytail, making sure it’s snug but not too tight.
    • Conceal the Hair Tie: Take a small strand of hair from the ponytail and wrap it around the hair tie, securing it with a bobby pin. This adds a polished touch and conceals the elastic.
    • Tease the hair to get a fuller look, then create waves at the bottom using a curling wand.
    • Polish and Perfect: Smooth out any bumps or flyaways with a light hairspray or a small amount of styling product. Use a comb or your fingers to ensure a sleek finish.

    For more Styling Inspiration go to @Styling.by.mel

SCROLL UP