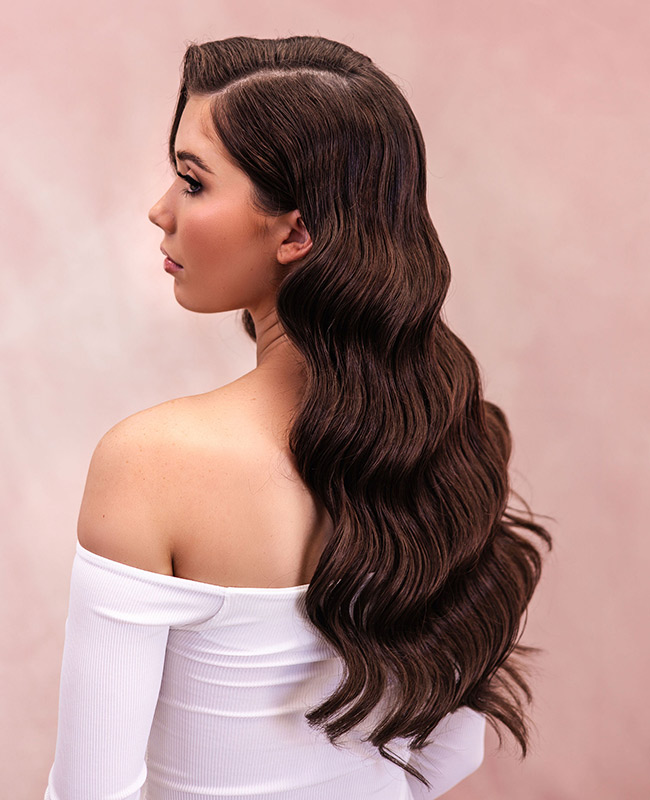


Guide to Installing Clips in
Here’s a guide to using hair clip-in extensions:
Step 1
Prepare Your Natural Hair
Start with clean, dry, and styled natural hair. If desired, you can add some texture or waves to your hair before beginning.
Step 2
Gather the Necessary Tools
Ensure you have the following tools on hand: a tail comb or rat-tail comb for sectioning, hair clips or hair ties to hold sections in place, and a mirror to assist with placement.
Step 3
Section Your Hair
Use the tail comb to create a horizontal parting from ear to ear, separating the top section of your hair from the bottom. Secure the top section with a hair clip or tie.
Step 4
Prepare the Extensions
Take out your hair extensions and lay them out in order of size, from widest to narrowest, so they are easily accessible.
Step 5
Start with the Lower Section
Starting at the nape of your neck, create a thin horizontal parting and clip the rest of your hair out of the way.
Tease the hair when you will place the clipins, this enables them to stay in place without movement . Take the widest clip-in extension and open the clips. Slide the extension's clips onto your natural hair, close the clips securely, and gently tug to ensure they are firmly attached.
Step 6
Work Your Way Up
Release a new thin horizontal section of hair above the first extension, slightly overlapping it. Repeat the process of attaching the clip-in extensions, working your way up to the top section of your hair.
Use narrower extensions as you move higher up the head, matching them with the width of each section.
Step 7
Blend and Style
Once all the extensions are securely in place, release the top section of your natural hair and gently blend it with the extensions. Use a comb or your fingers to blend and style the hair for a seamless look.
Step 8
Final Touches
Check the placement of each extension in the mirror and make any necessary adjustments to ensure they are evenly distributed and concealed.
Style your hair as desired, whether it's curling, straightening, or adding volume.
Step 9
Removal
To remove the clip-in extensions, simply open the clips and gently slide them out of your hair, starting from the bottom and working your way up.
With practice, you’ll become more proficient in attaching and styling your clip-in extensions, creating beautiful, voluminous hairstyles effortlessly.

